Set up your logo, company name, contact information, location and more. This is basic information for your relationship with your customers and the identity of your business.
One of the first configurations that is recommended is the basic information of your account and for this you can access through the menu on the left side where you will find the icons of the system functionalities.
Menu > Settings > Property information
- In the Property information form you will find the field Property Code in LobbyPMS or Property ID which will be requested every time you log into the platform.
Login URL: Login | LobbyPMS
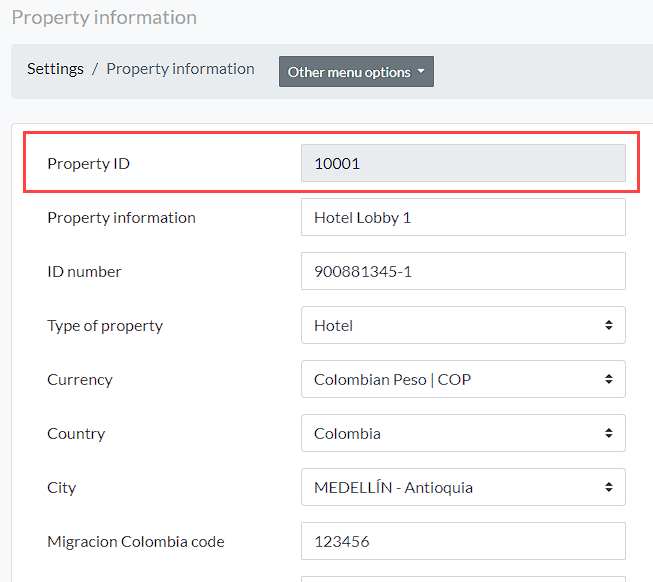
- In Property information you can set your company name or directly your business name. Note that this is the same information that will be displayed on receipts, invoices, and notifications from the system to your customers.
- After typing the name of your business name or establishment, configure the NIT or registered ID of it.
- If your property location is Colombia, you will be asked for the code field for Colombia migration, which will be necessary for the mandatory reports that hotels must send through the SIRE system.
Recommendations for uploading the logo:
- If your logo is transparent, it is recommended that it has a background.
- Select the entire outline of the box so that the logo has a good aspect ratio. This way you can avoid having a logo that is cropped or too big.
- The file size of your logo should be less than 1 MB.

Finally, set your location using the Google map. You must enter the module by clicking on “edit”. Once you have located your business, you can double-click on the location and then save.

That's it! Now, with your data up to date in Lobbypms, your customers will be more connected to your business.
Comments
0 comments